DiTi Sleeve Replacement
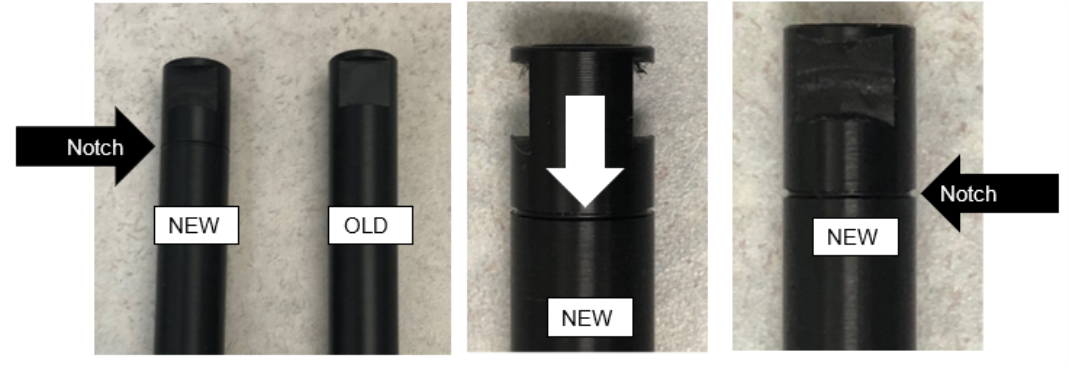
A new DiTi Sleeve has been released that increases the travel distance of the eject sleeve.
This improves the function of the Sleeve when ejecting Tip and Caps.
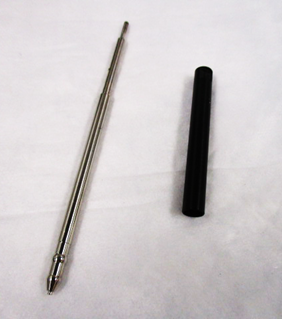
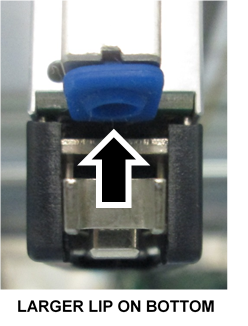
The new Sleeve can be identified with the presence of a notch.
Procedure
- Shutdown the Panther System and PC.
- Lay bench pad(s) under the pipettor arm to prevent parts from falling into the system.
- Manually move the pipettor above the bench pads.
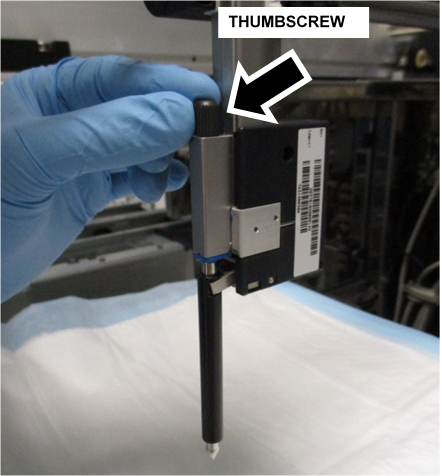
 Loosen and remove the pipettor thumbscrew.
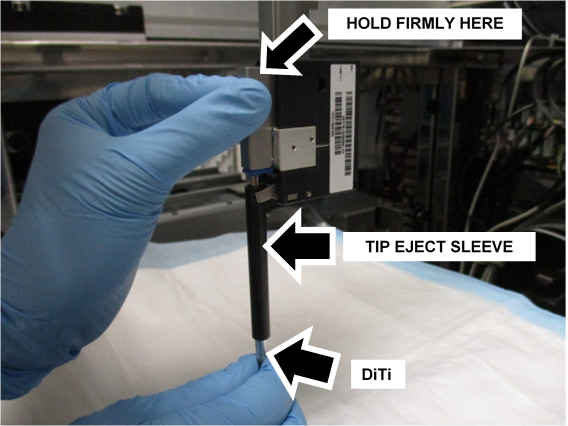
- Firmly hold the pipettor.
- Pull the DiTi down from the pipettor to remove the DiTi and the DiTi Sleeve.

Note—Raise the pipettor if necessary. - Clean the DiTi and the DiTi Sleeve.
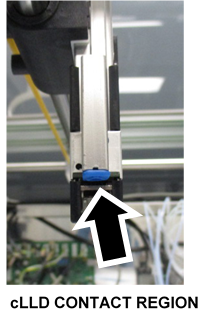
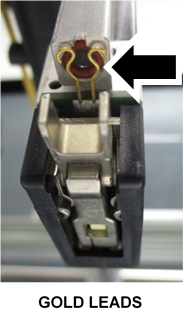
- Inspect and clean the cLLDCapacitive liquid level detection contact.
- Exchange the old DiTi Sleeve with a New Style DiTi Sleeve.
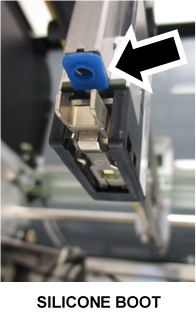
Discard the old Sleeve(s) as per Lab Guidelines. - Position the DiTi Sleeve under the silicone boot so the notches slide back into the Tip Release Mechanism.
- Slide the DiTi back into place until the shoulder is flush with the silicone boot.
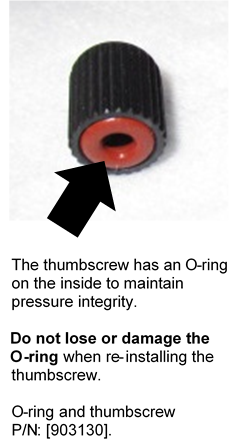
Note—Use caution when inserting the DiTi, there are O-rings that can be damaged if the DiTi is inserted incorrectly. - Reinstall and finger tighten the thumbscrew.
- Remove and discard the bench pads.

Verification
Complete a Pipettor Pressure Integrity Test for ALL Pipettors (that had their DiTi cleaned and DiTi sleeve replaced)
 button at the top of the page to send feedback, comments, or change requests.